Services
To start using the Apoint plugin, you first must to create a Service Category. Creating a category is required because each service needs to be included in a category. To create category and service, please follows:
- Log into your WordPress admin panel.
- Navigate to Apoint » Service.
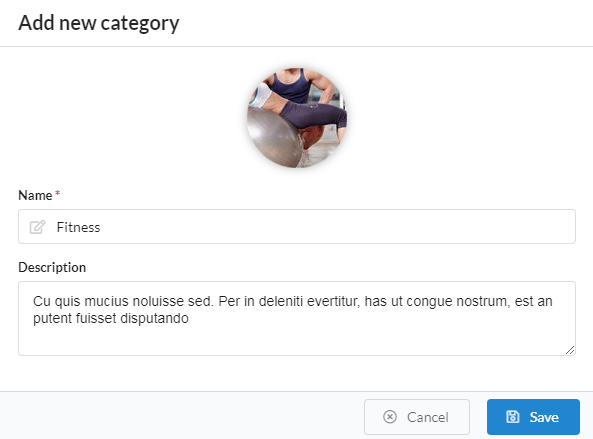
- Click 'New Category' in right screen.
- Select image for category and fill name, description of category.
- Click 'Save' button to save category info.

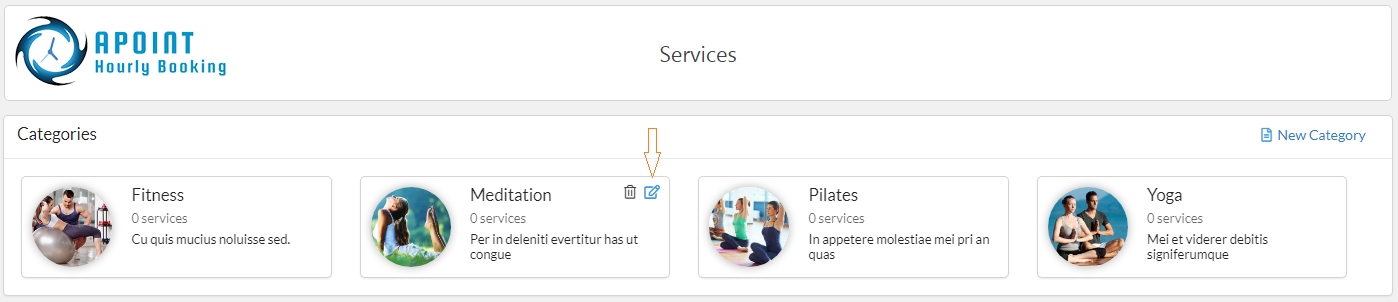
Edit or delete category
After create a category, if you want to edit or delete a category, please hover mouse on category item. The 'edit' or the 'delete' icon will appear in top right corner of item. Please click 'edit' icon if you want edit, or 'delete' icon if want delete
Create, edit, delete service
After creating the category, please go to create service. To create service, please follows:
- Log into your WordPress admin panel.
- Navigate to Apoint » Service.
- Click 'New Service' in right screen.
- Select image for service and fill another info of service.
- Click 'Save' button to save service info.

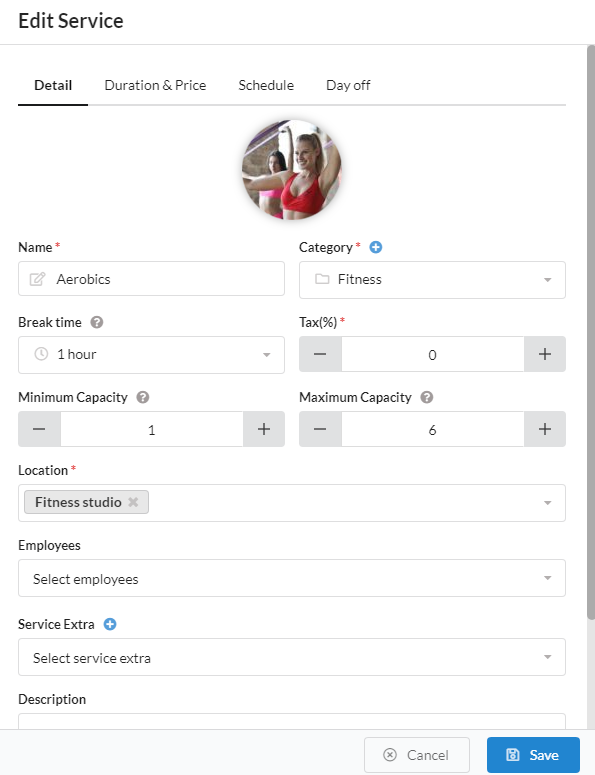
- Service photo: Click on the photo icon, the plugin will open media popup what you can upload or select photo on your website. Choose a photo for service
- Name: This is name of service and it is required
- Category: This is category that this service belong.
- Tax: Tt has three tax level: 0%, 5%, 10%. If your service don't have tax, please select 0%.
- Break time: Time after the appointment (rest, clean up,...).
- Minimum capacity: Minimum number of person per one booking of this service.
- Maximum capacity: Maximum number of person per one booking of this service.
- Location: A location is where your employees are providing the company's services. Here you choose the location that will be assigned to the service. If don't have location in drop down, please go to Create location
- Employee: Here you choose the employees that will be assigned to the service. If don't have employee in drop down, please go to Create employee
- Service Extra: Extras allow you possibility to add additional services or products customers can buy when they are scheduling the appointment. If don't have service extra in drop down, please click plus icon to create service extra
- Service available: This option indicate who can use this service(everyone or male only or female only)
- Description: You can add a description for this service at here
- Publish to service: If you want show on service for admin and don't show on booking form at fronend, you can use this option. If checked, services will be displayed on booking form

You can define multiple price and duration of a service by clicking the 'Add duration and price' link or remove by click minus icon.
- Price: You need to enter the price of service.
- Duration: This is duration of service, it defined how long will the service take.
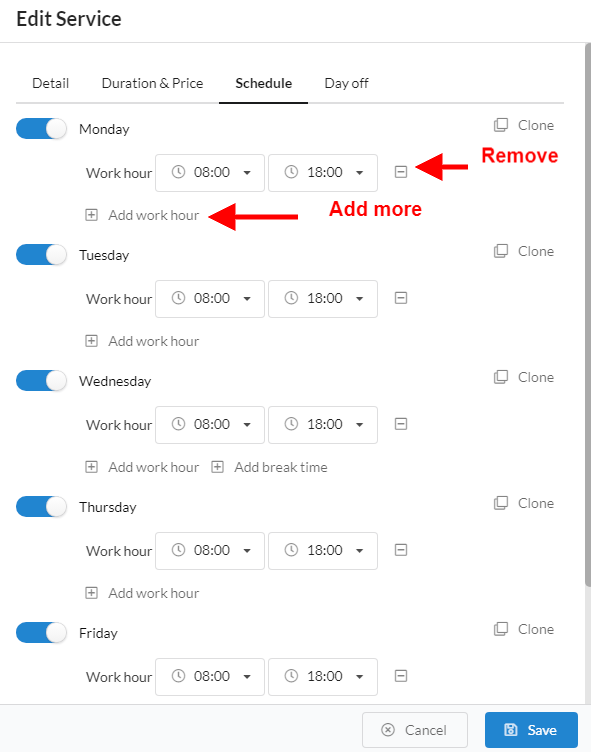
Schedule: This is where you set working hours and breaks for service. You can choose different working hours and breaks for any day, but if you want to set the same schedule for the entire week, simply hover 'Clone' on Monday and check all day in week and click on the “Applies” button and the Monday schedule will be copied to the other days.
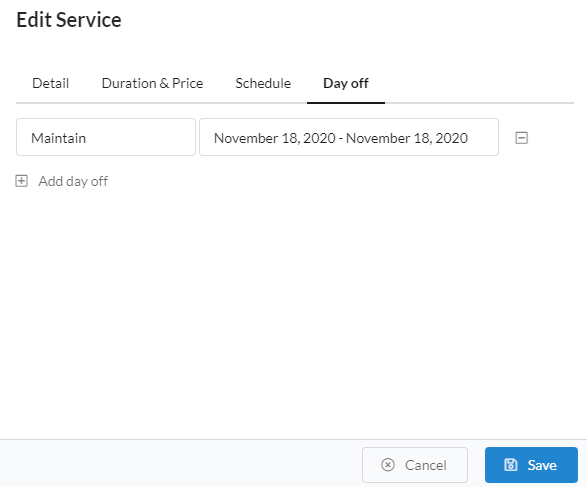
Day off: As is the case with working hours and breaks you can set custom days off for service. Click on the 'Add Day Off' button and you’ll see several new options. Enter a day off name, a date or range of dates
Edit or delete category
After create service, if you want edit or delete service, please hover mouse on service item. The 'edit' or 'delete' icon will appear in top right corner of item. Please click 'edit' icon if you want edit, or 'delete' icon if want delete
