FAT Event Documentation
visit roninwp.comHow to use setting panel
This section will gives you explanation on how use setting panel to config
- Log into your WordPress admin panel.
- Navigate to FAT Event » Settings.
This setting is useful for SEO, categories and config for archive of event
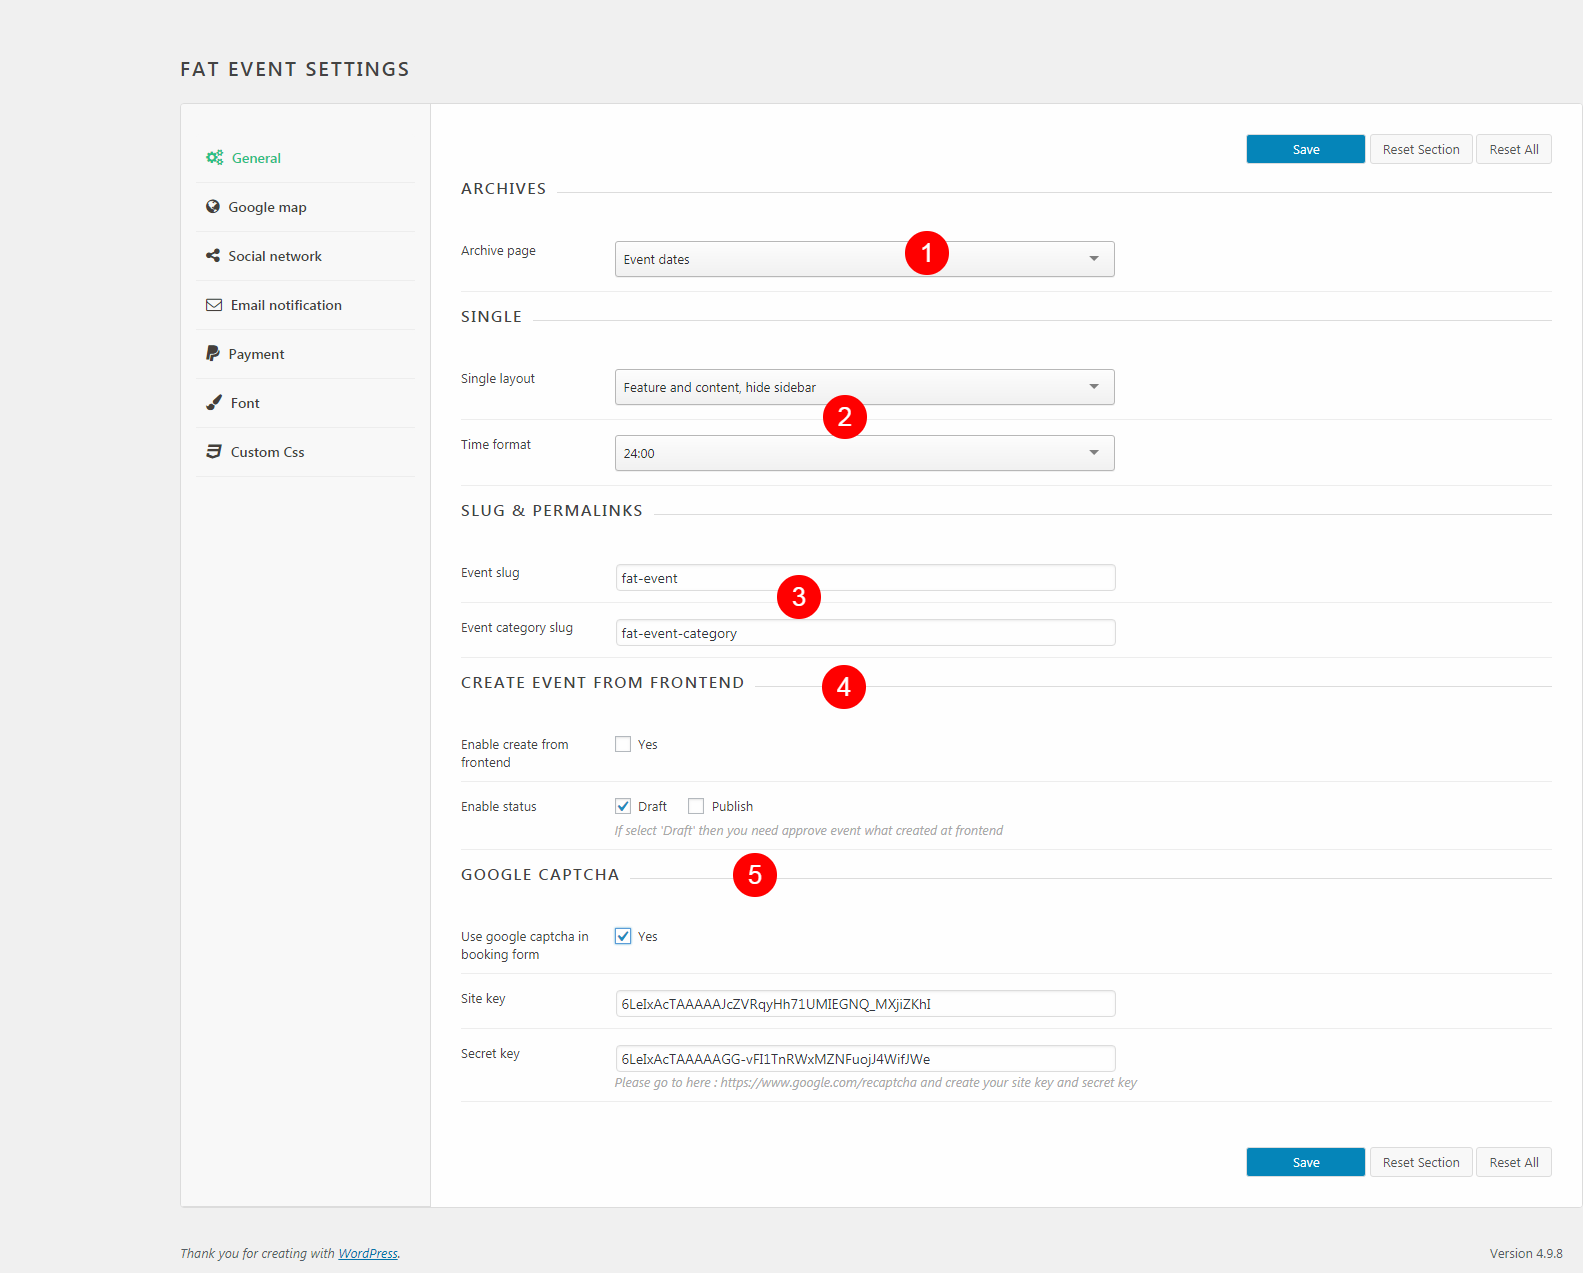
- 1. Archive page: At default, the archive page of event will be inherit from blog archive. But with this option, you can create page and indicate your site redirect to this page when client access event's archive
- 2. Single: At here you can select layout and time format for single layout
- 3. Slug & permarlink: At default, the slug of event is 'fat-event' and permarlink of event is http://yoursite/fat-event/{event-title}. With this option, you can change to another slug by input your slug at here. Ex: If you change to 'our-event' then permarlink become http://yoursite/our-event/{event-title}
- 4. Create event from frontend: This is option what allow enable/disable create event from frontend. At here you can config event status and user who can create event
- 5. Google Captcha: FAT Event integrated with google captcha in booking form. To integrated with google captcha, the plugin need site key and secret key. You can access: https://www.google.com/recaptcha to register key for your site. You can disable/enable google captcha on Popup booking by select 'Use google captcha in booking form'
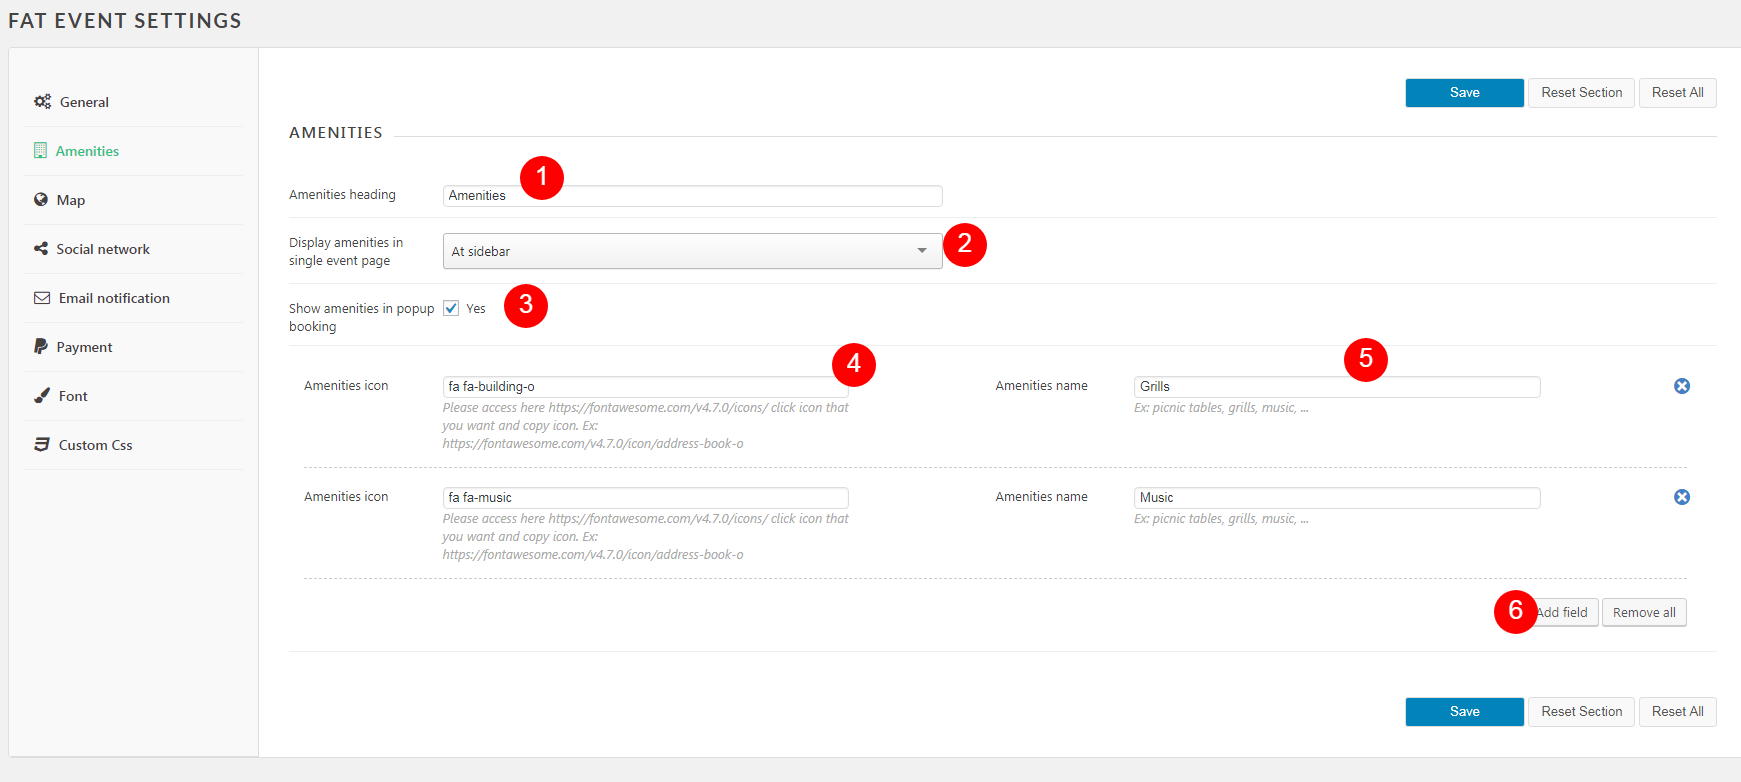
- 1. Amenities heading: This is the heading that will display in the event details page
- 2. Display amenities in single event page: You can select display position of amenities
- 3. Show amenities in popup booking: If you want display amenities item as checkbox on popup booking, you need check at here. In this case, you can know which amenities customers are interested in
- 4. If you want use icon for amenities item, you need fill at here
- 5. This is name of amenities item
- 6. At here you can add more amenities item
If you don't use amenities, you need remove all of amenities item. FAT Event will be hide amenities section on event detail page
FAT Event integrated with Google map and Mapbox and helps you show your event location on map. The plugin needs an API key to interact with Google Maps API and fetch your requested map. You can access: https://developers.google.com/maps/documentation/javascript/get-api-key to get key for your site and input your key to 'API key' section
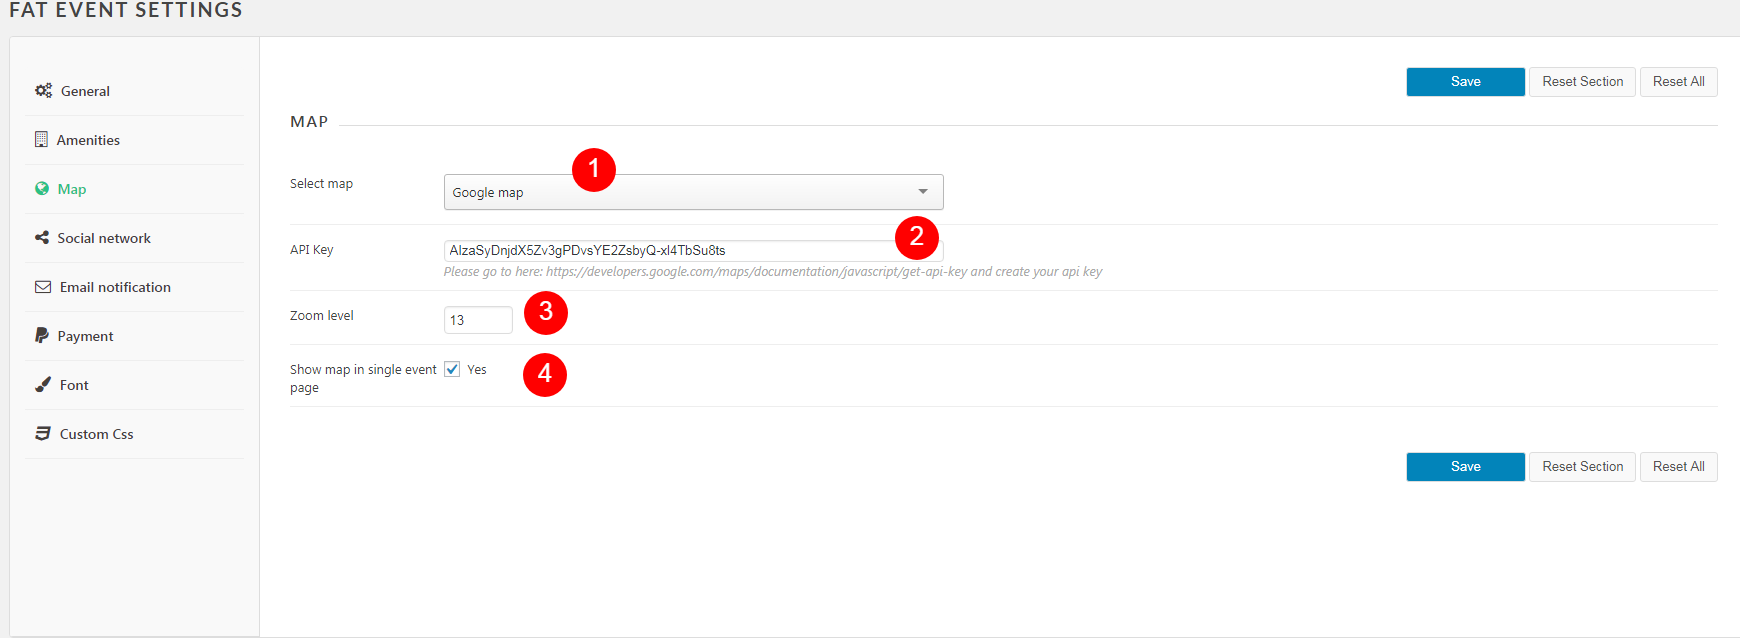
- 1. Select map: At here you need select map type (Google map or Mapbox).
- 2. API Key (for google map) or Access token (for Mapbox): To display map you need key to connect Google API or Mapbox. To get key, you can create at here (for Google) or at here (for Mapbox)
- 3. Zoom level: If you use google map, you can change default zoom level at here
- 4. Show map in single event page: This is option to enable/disable map in single event page
At here you can enable/disable social share on popup detail or single event page
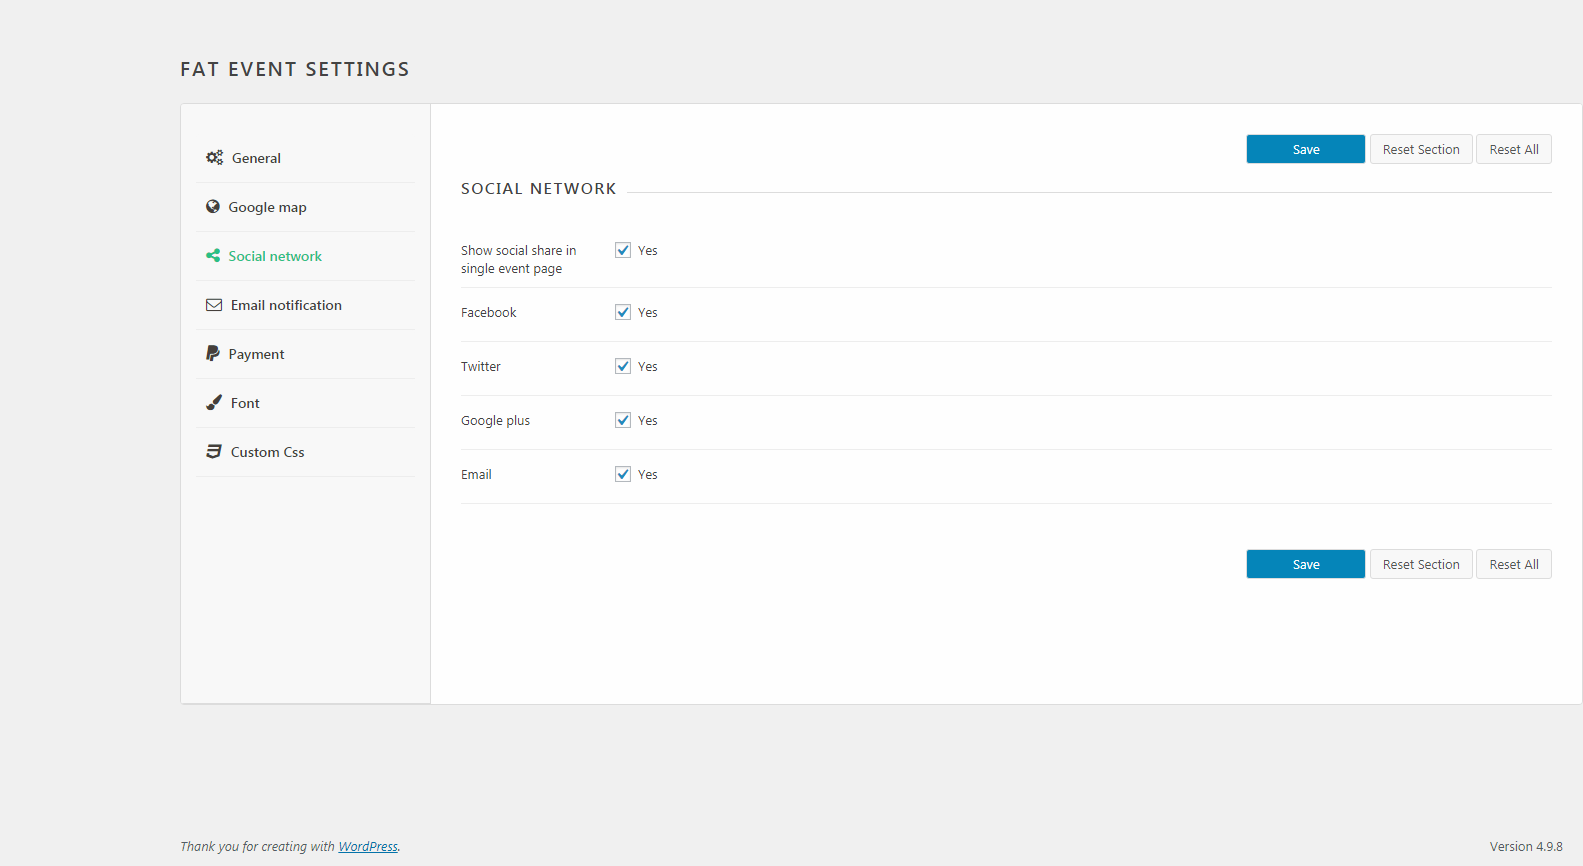
At here you can enable/disable social share on popup detail or single event page
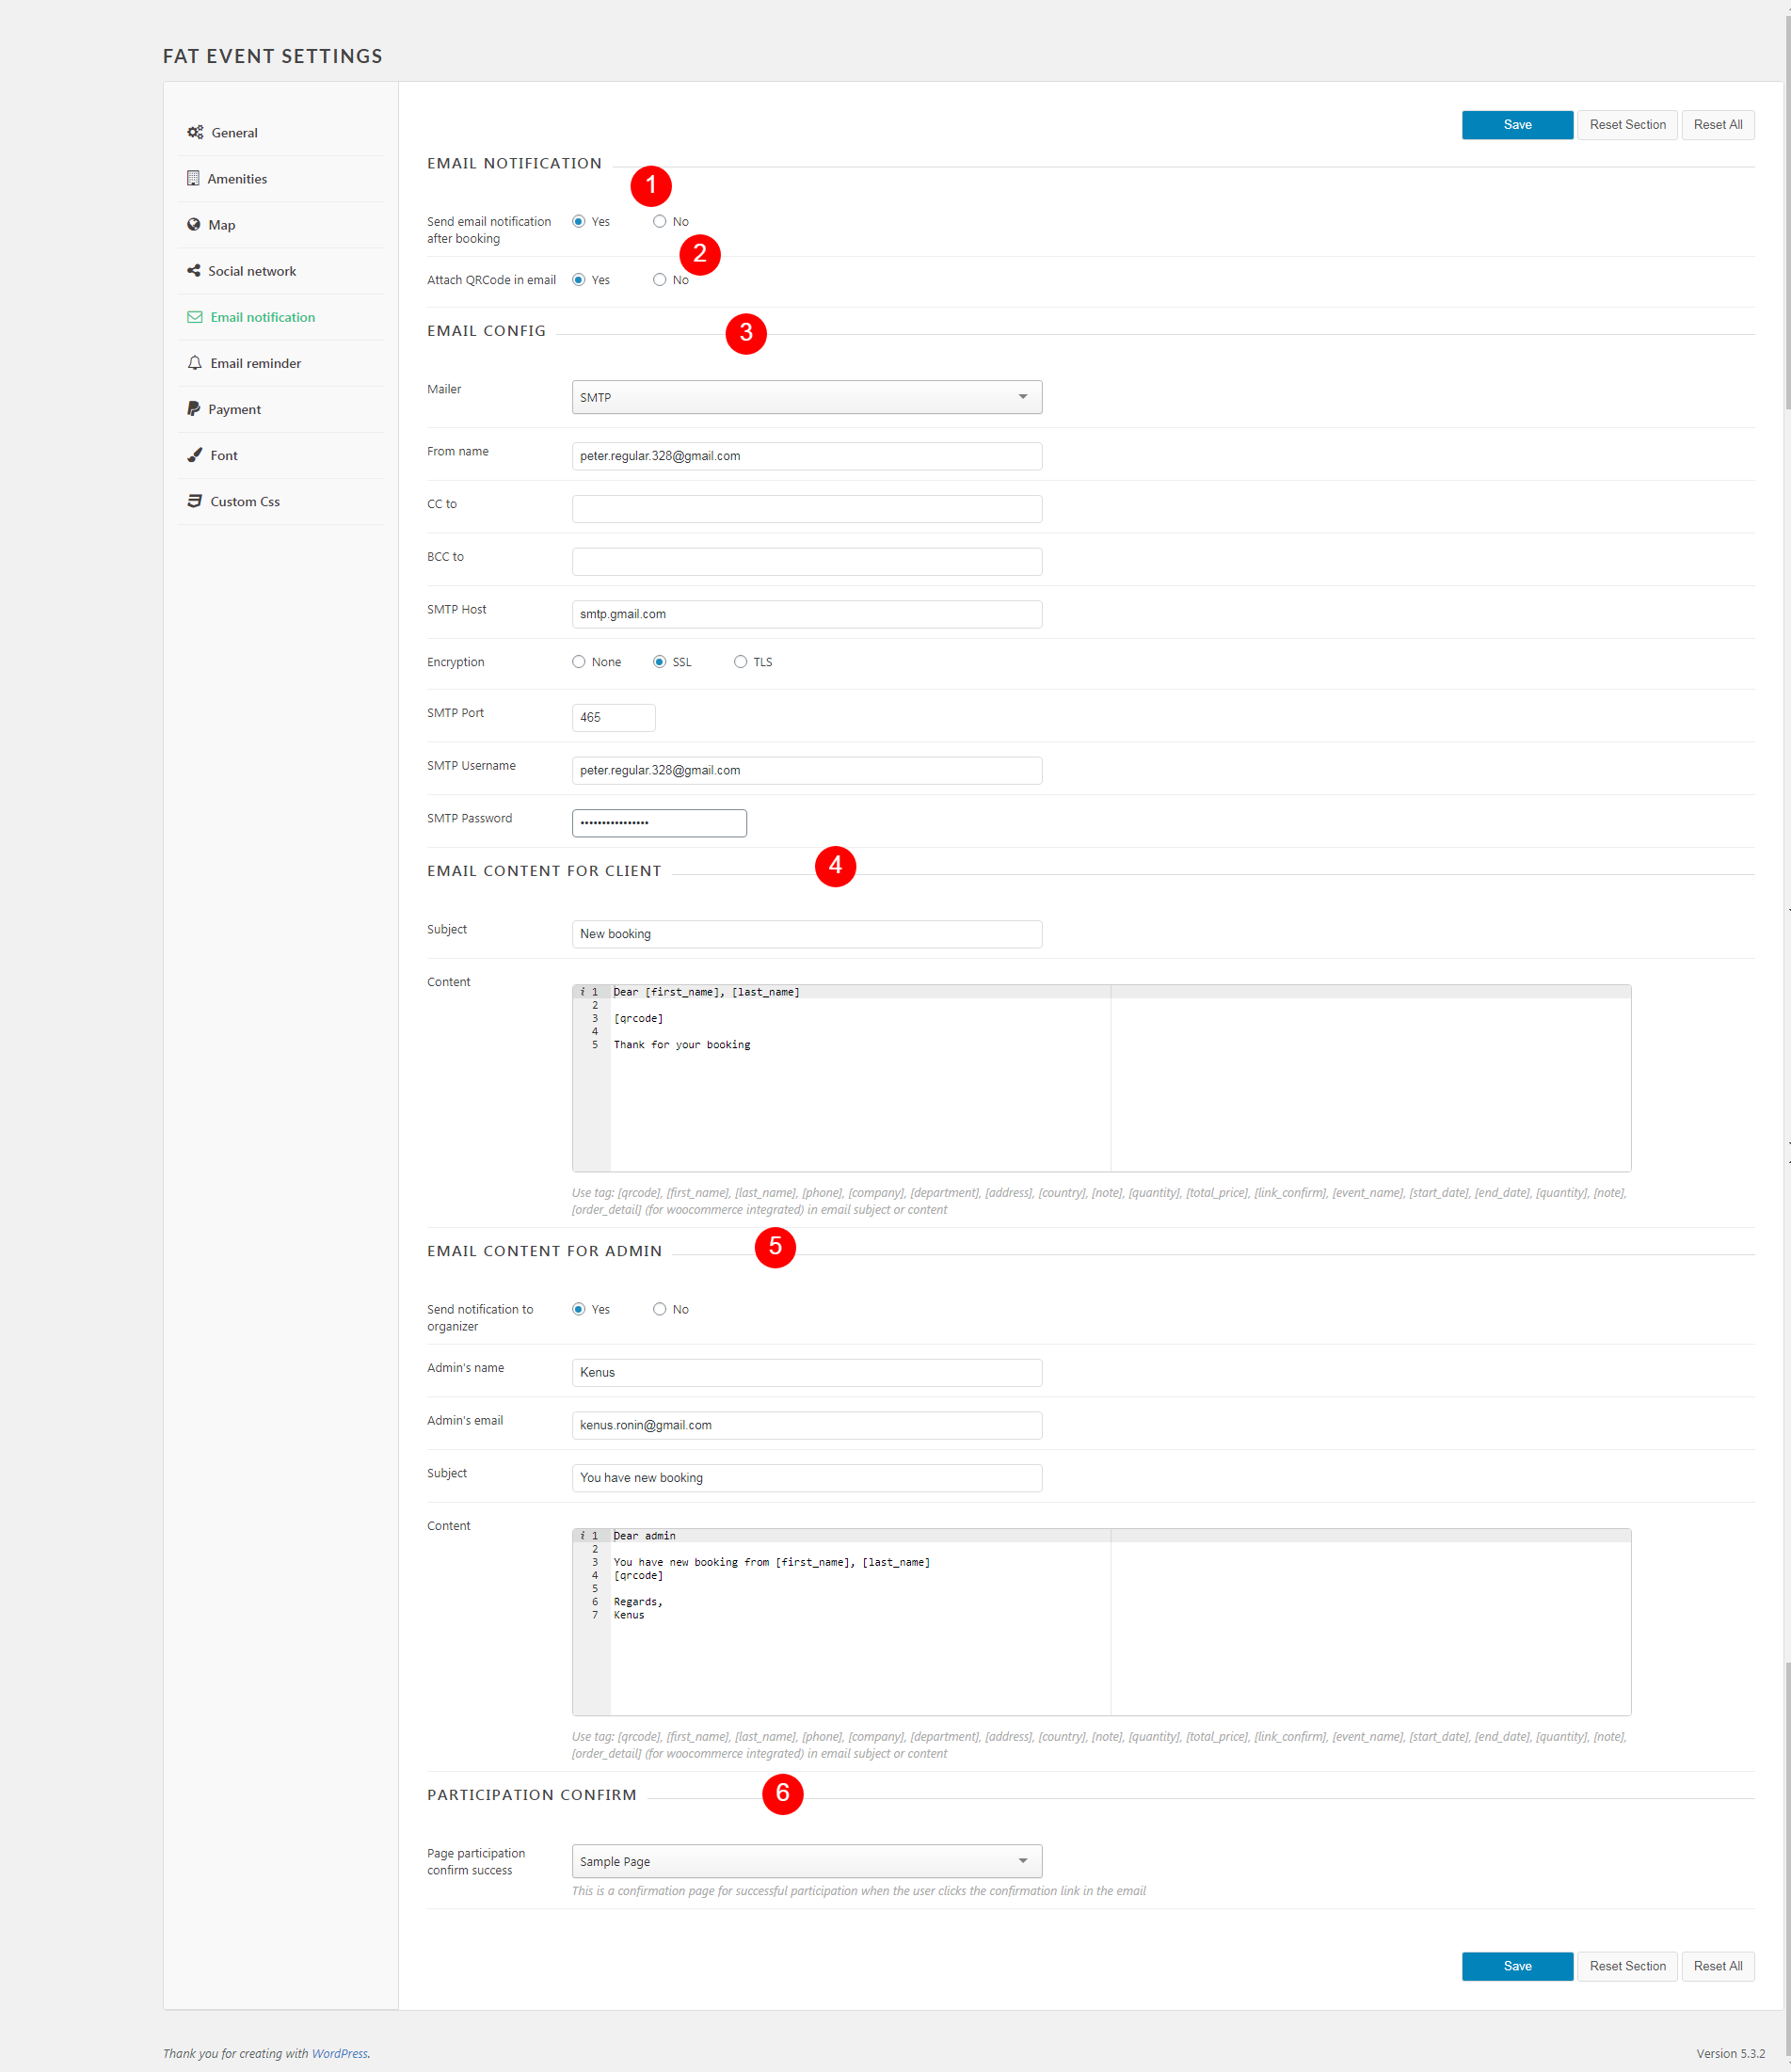
- 1. Option to enable/disable send mail to client after booking
- 2. Option to enable/disable attach QRCode in email notification. The QRCode will be include booking information (example: Full name, phone, email, event name, start date, end date, ...)
- 3. This is email config section. To send mail, you need select Mailer (Default what use PHP mailer or SMTP) and SMTP host, port, username, pass if use SMTP
- 4. At here you can change email content and remember use keyword :
- [fist_name] : to show up client's first name in content
- [last_name] : to show up client's last name in content
- [link_confirm] : This is link what client need click to confirm they will participate. If you don't need confirm, you don't need include this keyword in mail content
- [event_name]: This is name of event
- 5. At here you can enable/disable send email notification to admin or main organizer when have new booking
- 6. Participation confirm: This is a confirmation page for success. Customers will be redirected to this page after the reservation is successful
At here you can set up sending reminders when the event is about to take place
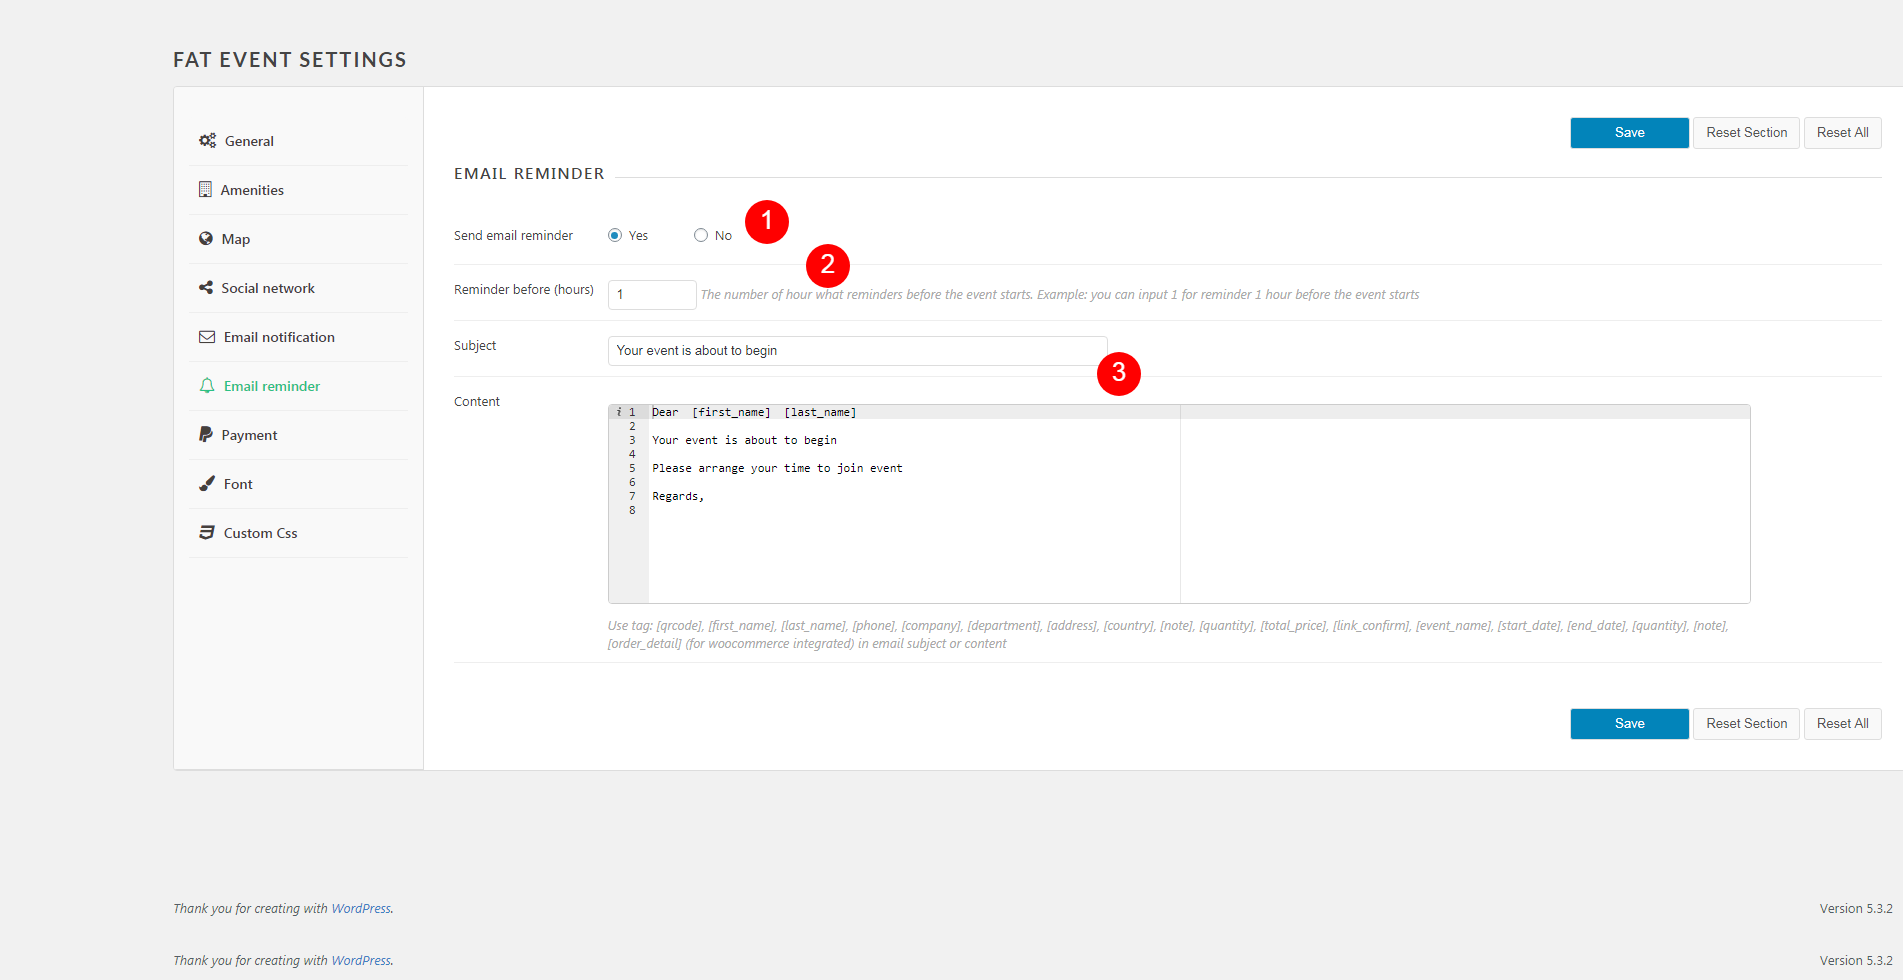
- 1. Option to enable/disable send mail reminder
- 2. You can set how many hours in advance to send an email when the event takes place
- 3. Subject and Content of email reminder
FAT event provide three payment methods: Offline, Paypal and Stripe.
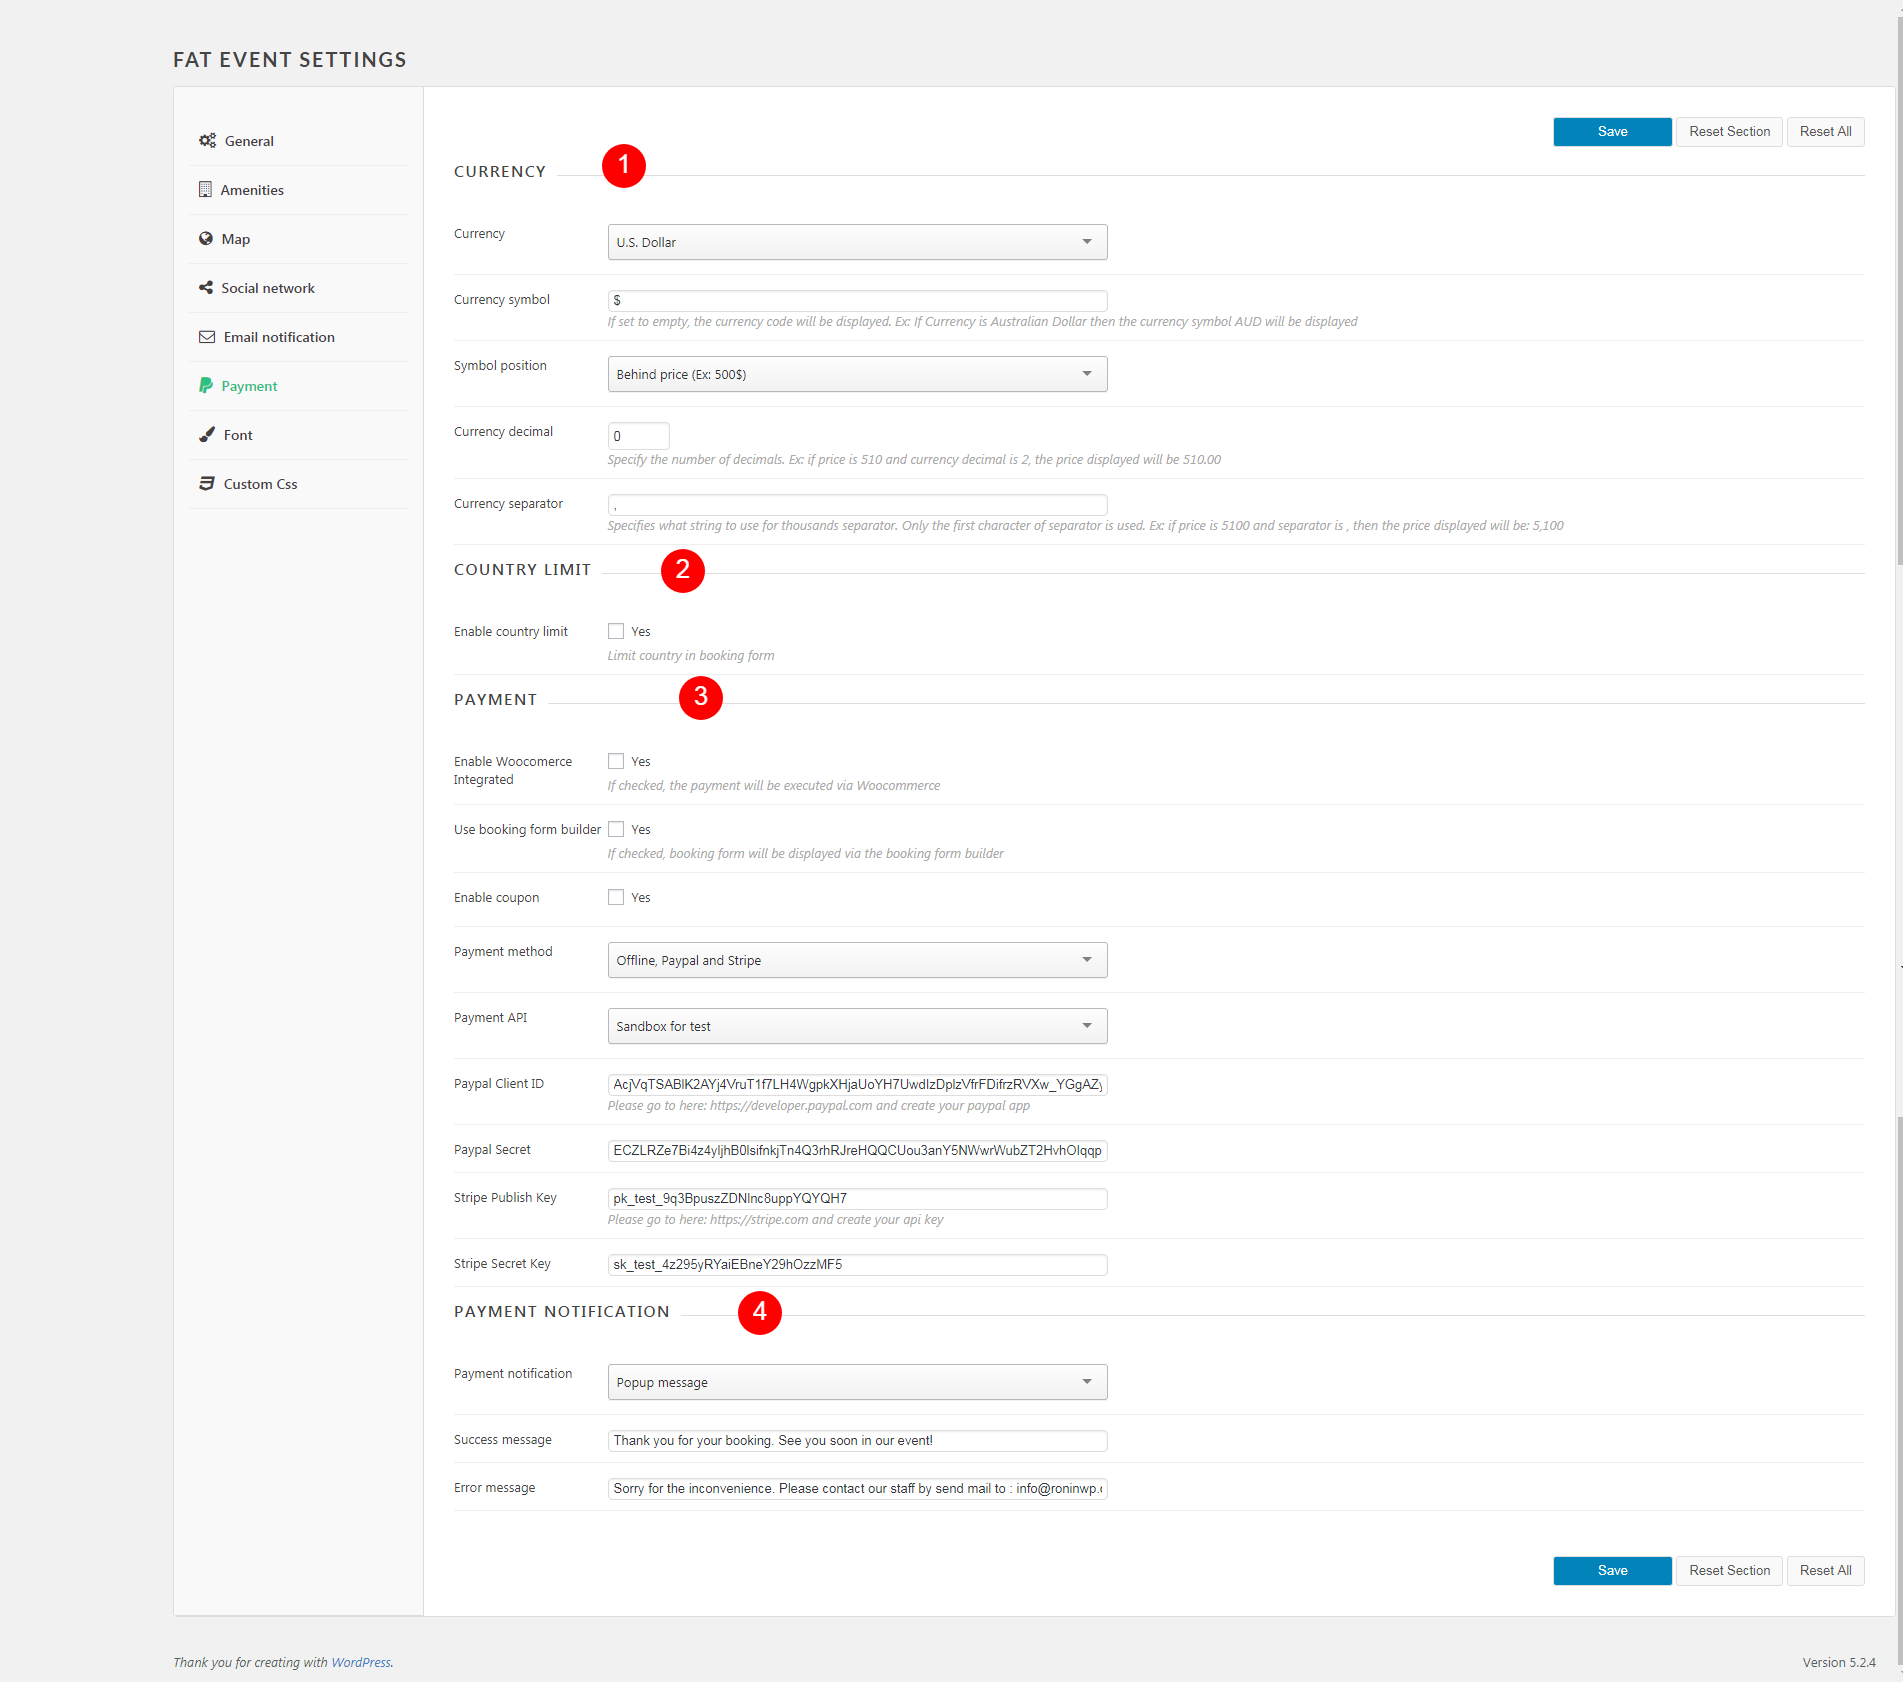
- 1. Currency: At here you can config currency for your site. This is currency what use for payment gateway
- 2. Country limit: This is option what allow config country limit in booking popup. If set empty it will be show all of country
- 3. Payment: At here you can config payment method for your site: Offline, Paypal and Stripe.
With Paypal gateway, you need create ClientID and Secret on https://developer.paypal.com/. Replace
ClientID and Secret to 'Paypal Client ID', 'Paypal Secret'. Switch 'Paypal API' tot 'Live'
- Paypal API: At here you can choose paypal API is sanbox (for test mode only) or Live (for go live)
- 3. Paypal Client and Paypal Secret: FAT Event use Paypal API to call when client execute
payment. To call API, the plugin need Paypal Client ID and Paypal Secret.
To get Paypal Client and Paypal Secret, please do follow:
- 1. If you have created an account with PayPal, login, else Signup
- 2. Go to PayPal Developers
- 3. Scroll down and click on Create App button under REST API apps
- 4. Provide required information, and click on Create App button
- 5. Switch to Live tab
- 6. Here you will see your Client ID and Secret Key
- 4. FAT event provider two payment notifier method: Message or page
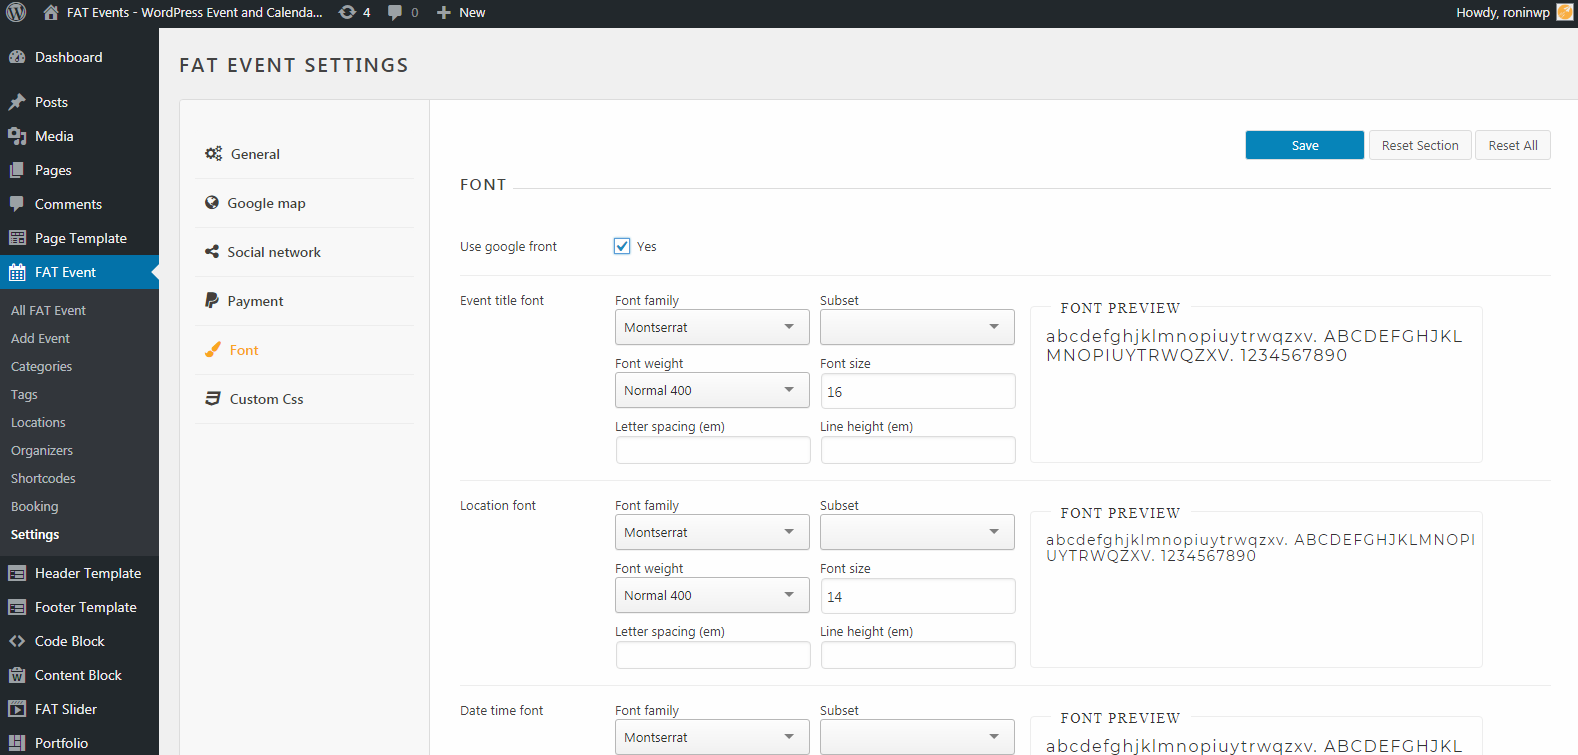
At default. FAT event inherit font family from your theme. But if you want customize font family for event, please check 'Use google font'. In this section you can choose font for event title, location, date time and description
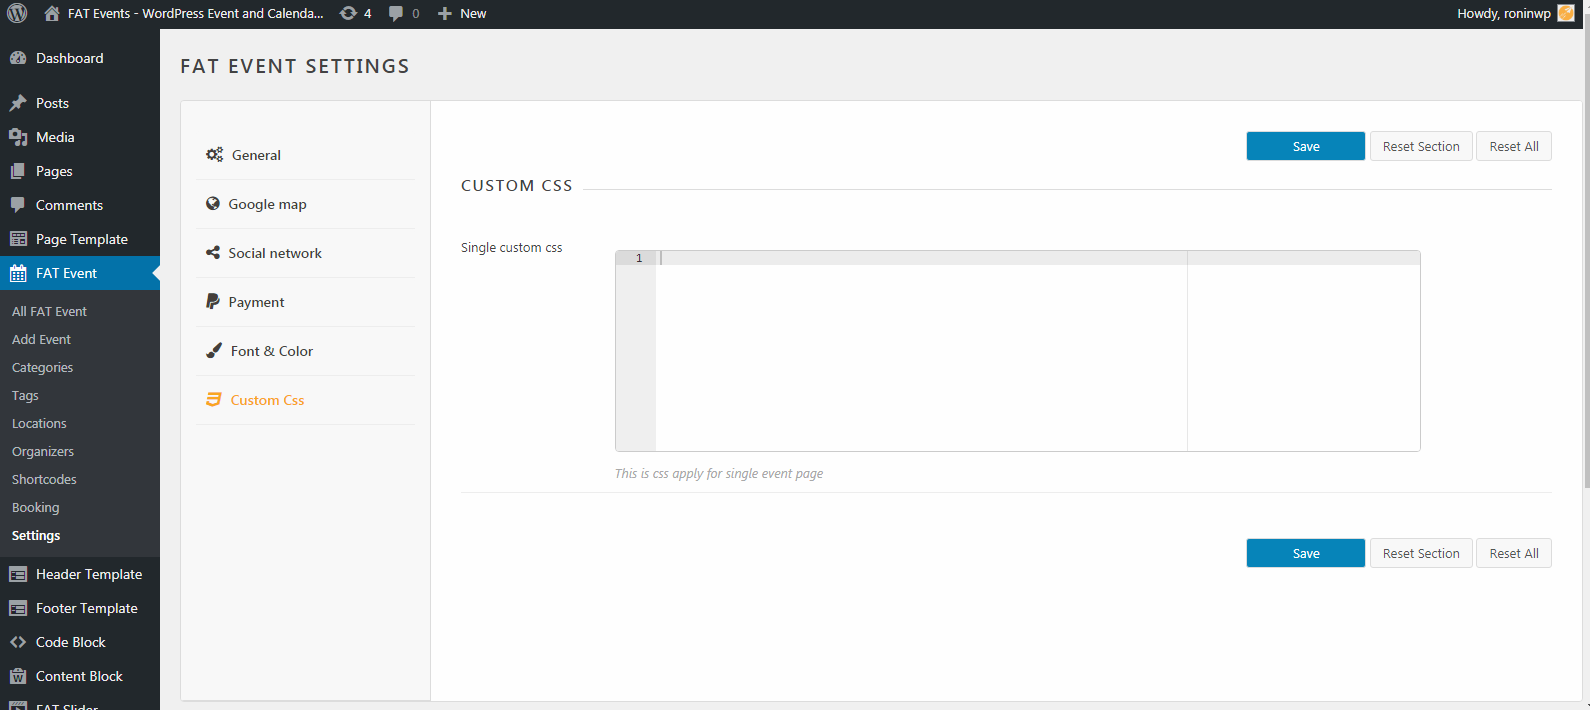
At here, you can add your custom css code for single page event